YouTube is the world’s largest video-sharing platform, with over 2 billion monthly active users. It has become an excellent platform for content creators to showcase their skills and passions to a vast audience. Setting up a YouTube channel is a great way to share your creativity and expertise with the world. In this article, we will discuss the essential steps to follow when starting a YouTube channel.
Step 1: Define Your Niche
The first step in starting a YouTube channel is to define your niche. A niche is a specific topic or category that you want to create content on. Choosing a niche helps you to focus on your content, create a community around your channel, and attract a specific audience. Some popular niches on YouTube include beauty, fashion, gaming, cooking, and travel.
When choosing a niche, it is important to consider your interests and passions. Your niche should be something that you enjoy doing, as this will make it easier to create consistent and engaging content. Additionally, consider your expertise and knowledge in the niche. You want to create content that is both interesting and informative.
Step 2: Create a Google Account
The next step is to create a Google account if you do not already have one. Your Google account will serve as the primary account for your YouTube channel. You will use it to sign in, manage your channel, and access the YouTube Studio dashboard.
To create a Google account, go to the Google sign-up page and follow the prompts to set up your account. You will need to provide your name, date of birth, and email address. Once you have created your Google account, you can proceed to set up your YouTube channel.
Step 3: Set Up Your YouTube Channel
To set up your YouTube channel, go to the YouTube homepage and click on the “Sign In” button in the top right corner of the screen. Sign in using your Google account credentials. Once you are signed in, click on your profile picture in the top right corner of the screen and select “Create a channel.”
You will be prompted to create a channel name and select a profile picture. Your channel name should be related to your niche and easy to remember. Your profile picture should be a clear and professional image that represents your brand.
Step 4: Customize Your YouTube Channel
Once you have set up your YouTube channel, it is time to customize it. Customizing your channel helps to create a consistent brand image and makes it easier for your viewers to navigate your content.
To customize your channel, click on the “Customize Channel” button on your channel homepage. You will be prompted to add a channel description, banner image, and links to your website and social media profiles. Your channel description should be a brief summary of your channel and what viewers can expect from your content.
Your banner image should be a high-quality image that represents your brand. It should be visually appealing and consistent with your channel’s niche. Additionally, you can add links to your website and social media profiles to help viewers connect with you on other platforms.
Step 5: Create and Upload Your First YouTube Video
Once you have customized your channel, it is time to create and upload your first video. Creating your first video can be daunting, but it does not have to be perfect. Focus on creating high-quality content that is informative, entertaining, and engaging.
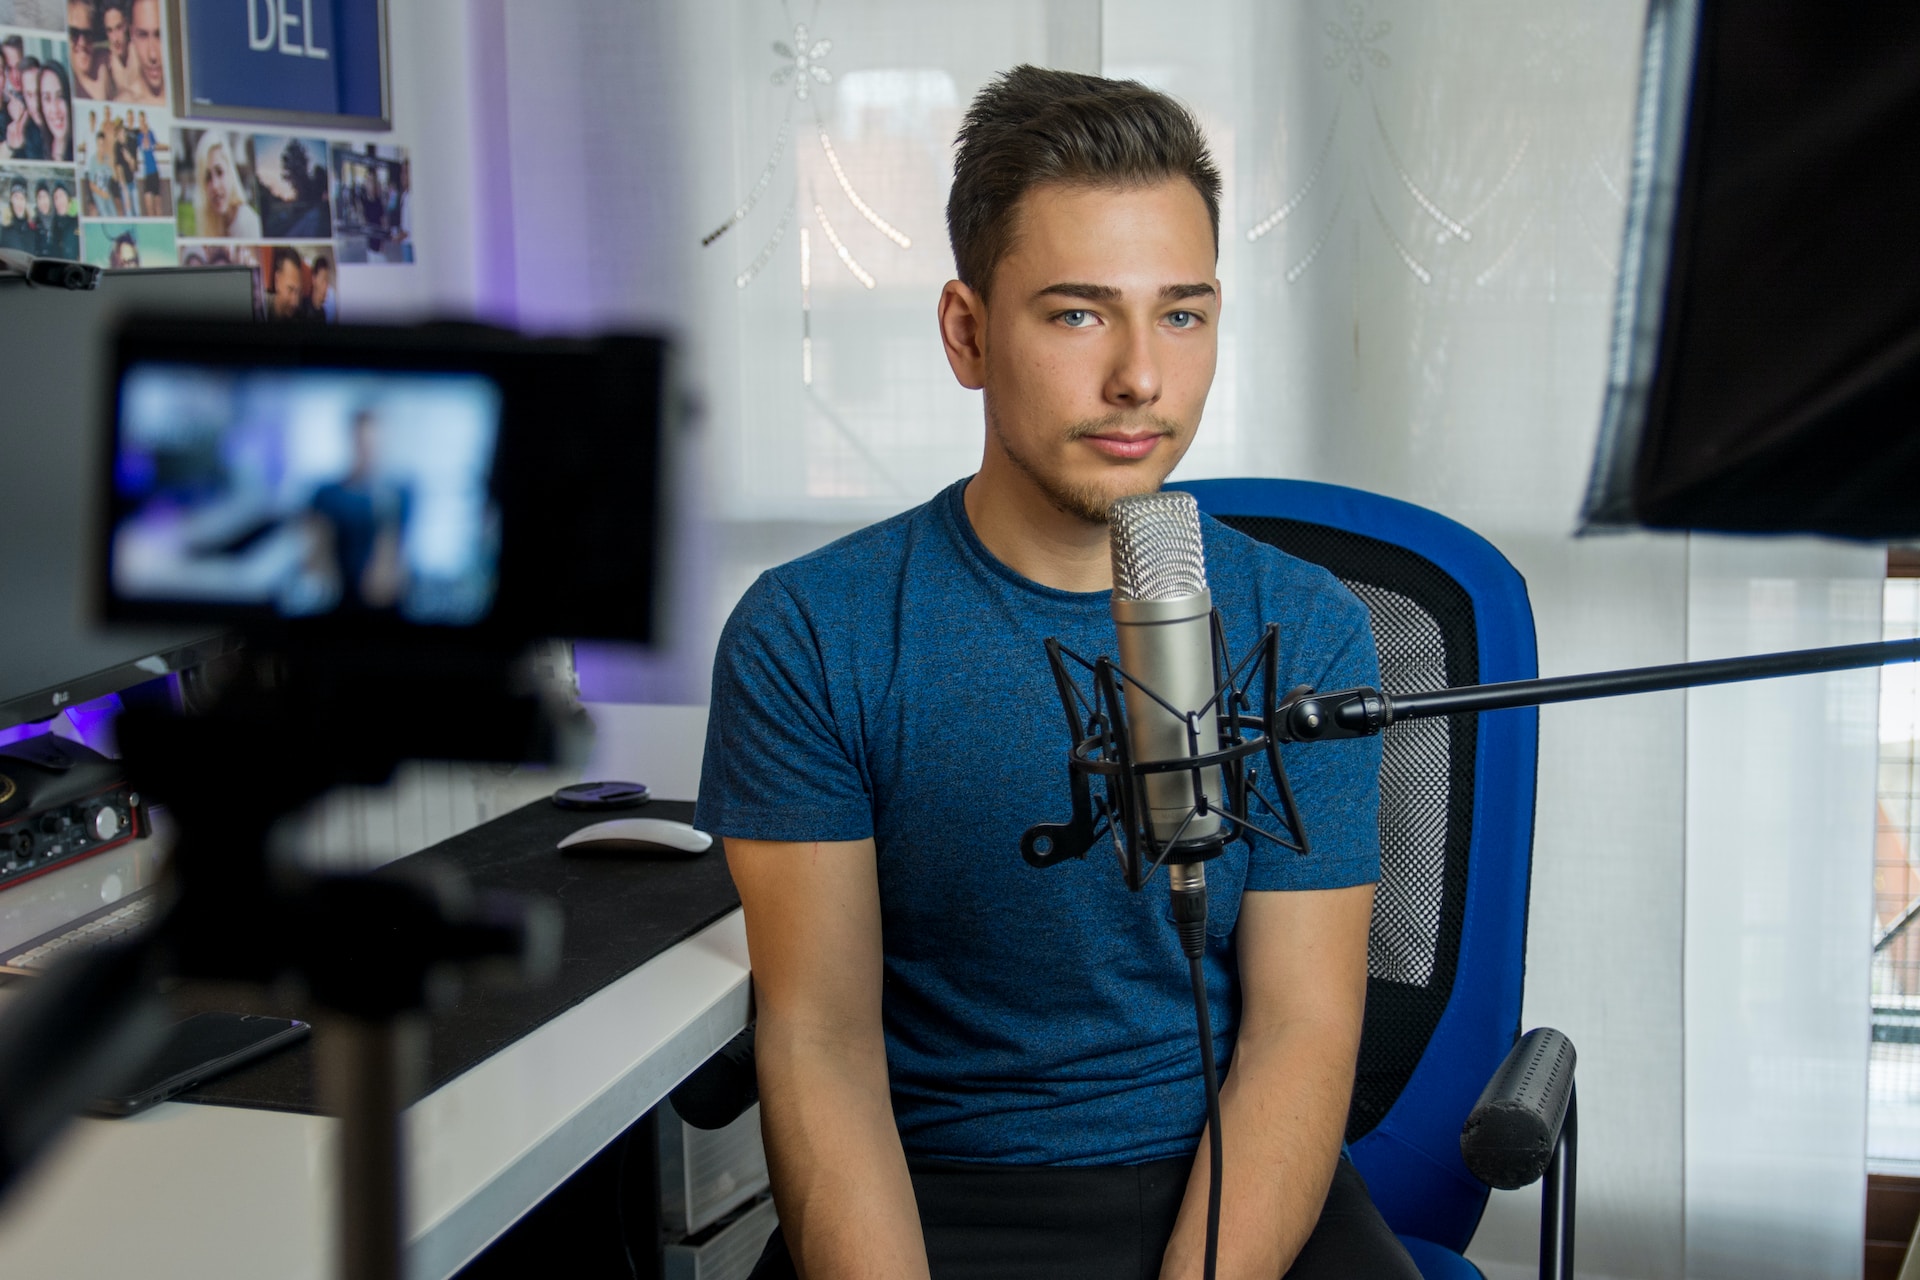
To create your first video, you will need a camera and microphone. You can use a smartphone or a digital camera to record your video. Additionally, you will need video editing software to edit your video and add music and transitions.
Check out our article on Vlogging for a step-by-step guide to shooting a great video –
When uploading your video, make sure to add a title, description, and relevant tags. Your title should be catchy and related to your content. Your description should be a summary of your video and include links to your website and social media profiles.
Remember – looks aren’t everything and your videos need to sound good too. Go to Keyframe Audio to get the very best Royalty-Free Music and SFX for your content.
Leave a Reply